After a time, a new DIY tutorial! The truth is that I have seen this frame in a coffee shop and I love it. So I decided to recreate it for you! This can be a perfect gift for a coffee lover or a new item to decor your home.
Después de un tiempo, vuelvo con un tutorial! La verdad que vi este cuadro en una cafetería acá en Buenos Aires (a ver si pueden adivinar cual es!) y me dieron ganas de recrearlo con un tutorial para ustedes. Puede ser un regalo perfecto para algún/a amante del café o para decorar vuestras casas :)
You will need: coffee beans (of course), a frame wih depth , a silicone sealer, white vinyl and I use a Silhoutte Studio Machine, but since they are just letters maybe you can find an alphabet sticker! (also I had to paint my frame...)
Lo que van a necesitar es: un cuadro con fondo (si están en Bs As yo compré el mio en Once), Fastix para pegar todo, papel contac blanco (si consiguen stickers de letras blancas se ahorran de este paso cortando el contac). Mi cuadro vino sin pintar así un paso adicional fue pintarlo.
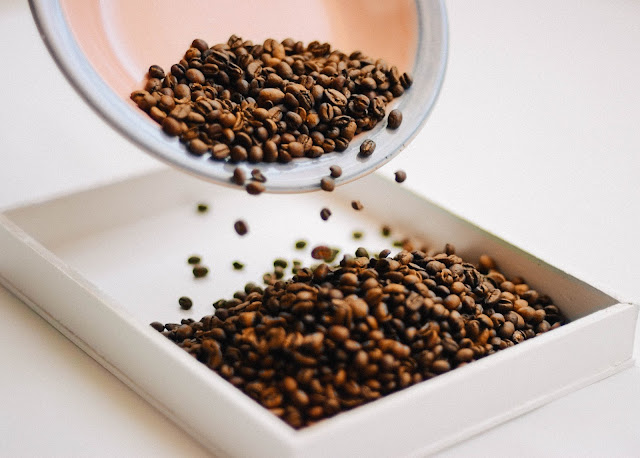
So the first step is fill it with beans, I think I use around 300grams, it depends on how depth is your frame... I recomend sifting it a bit so you remove any dust that may have. And if you also need it to paint the frame as me, let it dry for a while, if not the beans will stick to the paint.
The next step is to glue the two parts of the frame together.
Después con Fastix en todo el borde pegamos las dos partes.
And no comes the vinyl creation process! I used my Silhoutte Studio, which I didn't use for at least 3 years, and I was impress the keep updating the software in their website, so I was able to download it and installed super fast!
Y ahora viene la parte de hacer el vinilo (que si consiguieron stickers se la saltean). Yo use mi Silhoutte Studio para esto, lo cual me sorprendió que después de 3 años de no usarla, pude bajarme el software actualizado en un segundo y ponerla a andar nuevamente (habla muy bien de la marca!)
Para la font use Beba, y en los settings puse presión muy baja a la cuchilla y velocidad media, porque dado que es papel contac no necesitamos que corte todo sino la primera capa que es la que tiene el sticker.

But still low pressure was quite a lot and I got my vinyl cut all the way trough (it has worth the try haha
Pero bueno incluso con presión baja llego a cortar todo jaja

Then I just used my cutting mat as a guide and start transfering to the glass (I know there are this tools which are much more professional than doing with the hands but well... I just didn't have it)
Después usé la base de corte de la Silhoutte como guía y fuí poniendo las letras en orden, generalmente estas máquinas vienen con una espatulita para hacer justamente esto de manera más profesional pero no pude encontrar la mía....

And that is the final result! Super easy to make! quite a key steps but nothing complicate it, hope you like it, and let me know if you try it!!
Y este es el resultado final! Super sencillo de hacer, espero que les haya gustado y déjenme saber si lo hacen!
Don't forget to follow me on Insta for sneak peeks, on Facebook for news and you can also subscribe to my newsletter for update of new posts!
No se olviden de seguirme en Insta para sneak peeks, en Facebook para noticiasy y también se pueden subscribir a mi newsletter para updates de posts nuevos!


 Cardmaking
 I'm Loving
 Christmas Season
 Personal
 Living in Buenos Aires
 Recipes
 Snail Mail


Very beautifully done with awesome pictures... I currently live in Buenos Aires too.. Would love to meet you some time.. ;)
ReplyDeleteDyana,
www.shinecrafts.com
That is a really cute and clever idea!!! Love it. Thanks for sharing at our link party!
ReplyDeleteOh my goodness this is priceless fun for a kitchen. I would be one of those losers to actually think about breaking it lol. Love this fresh creative idea.
ReplyDeleteHow cute! Plus an emergency supply of coffee! Thanks for sharing at Home Sweet Home.
ReplyDelete